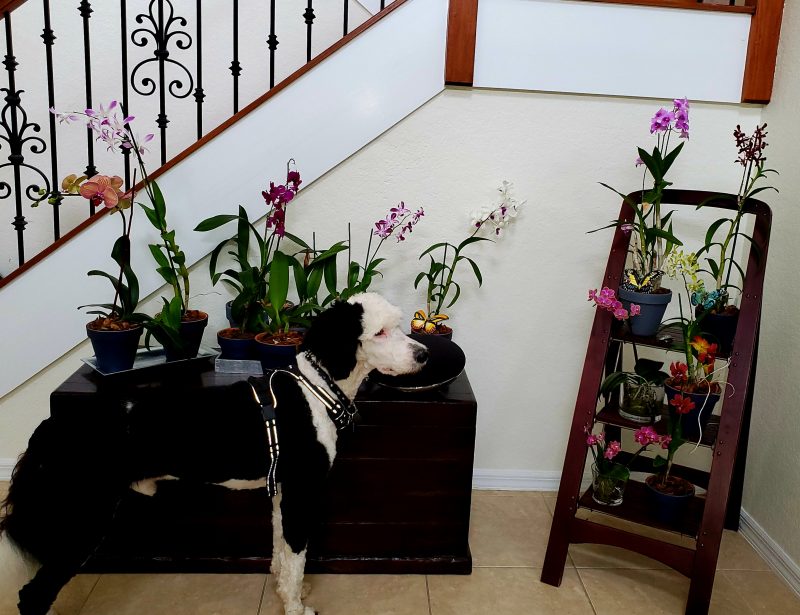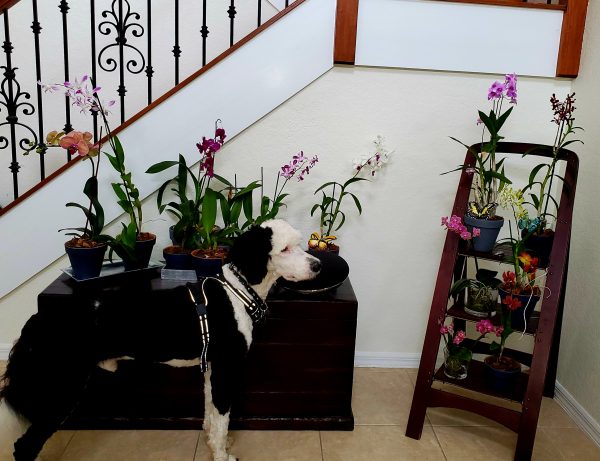
It all started over the summer with the idea of growing some herbs, and I guess it escalated from there.
I have always loved animals and plants, and while I have owned several pets over the years, I never really got involved with plants.
That all changed a couple of months ago, and since then, my love for plants has bloomed (pun intended).
Different Plants Around the Home
I had a couple of vases with silk flowers and soon realized that I would much rather have a living plant instead, so I switched them for real live plants and started adding live plants throughout the home.
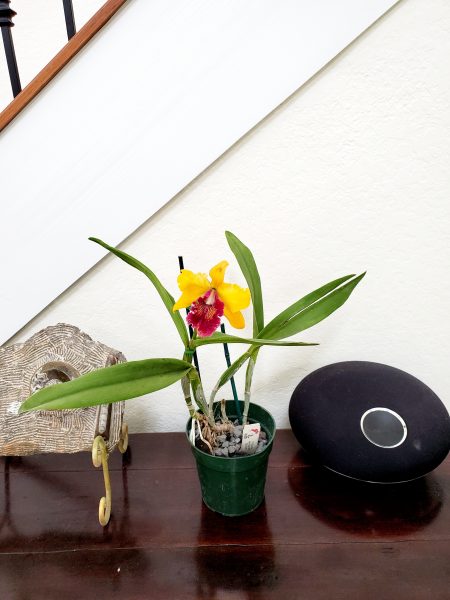
While I have a few different plants, including succulents now, my main focus is on orchids. They have always been my favorite, even though I never actually tried to grow them.
Learning About Orchids
I have been learning about orchids and actually joined a couple of amazing groups for orchid lovers on Facebook, which has taught me a lot about how to care for them, the different types of orchids, and how to keep them in good health after they lose their blooms.
My First Lesson
The very first thing I learned was that when you bring home an orchid, you need to repot them. Yes, the best thing you can do for your orchid is to get it out of the little pot it came in.
Healthy roots are vital for the life of your plant, and the containers stores have them in are not great for them. More often than not, the roots will rot when left in these pots.
Repotting Your Orchids
The first thing you will need to do to repot your orchids is to gather the things you will need:
- A pot
- Potting mix
- Alcohol
- 3% hydrogen peroxide
· Scissors or Shears
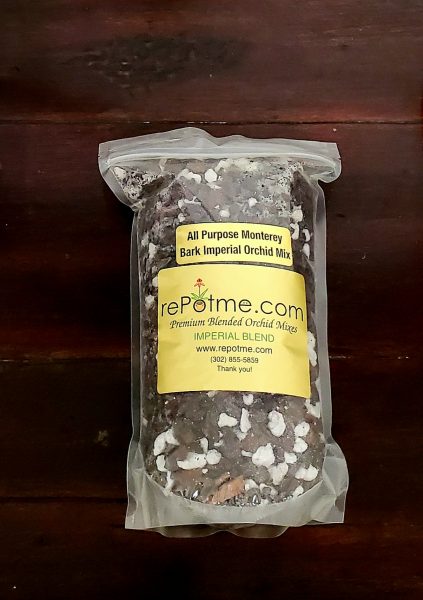
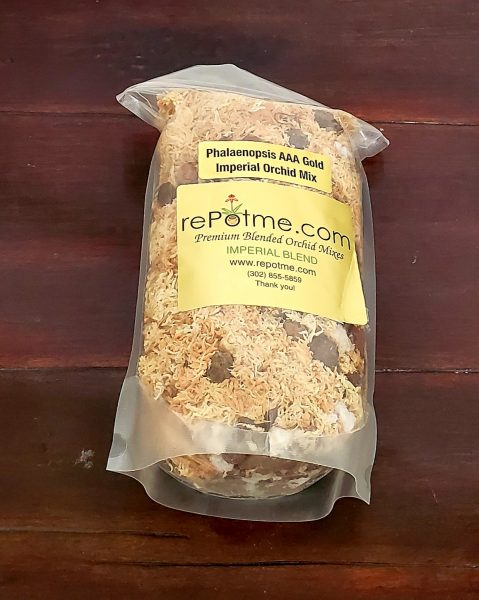
Different orchids like different kinds of potting mix, so you should identify your orchid’s family and getting a mix that is intended for that type of orchid.
For my orchid, I decided to use the All Purpose Monterey Bark Imperial Orchid Mix from rePotme, which is made with
· Medium Orchiata Monterey Pine Bark
· Small Orchiata Monterey Pine Bark
It a great option for many orchid types.
Let’s Get to Work
The very first thing you will need to do is carefully remove your orchid from the old pot and remove as much of the old soil as possible without damaging the roots.
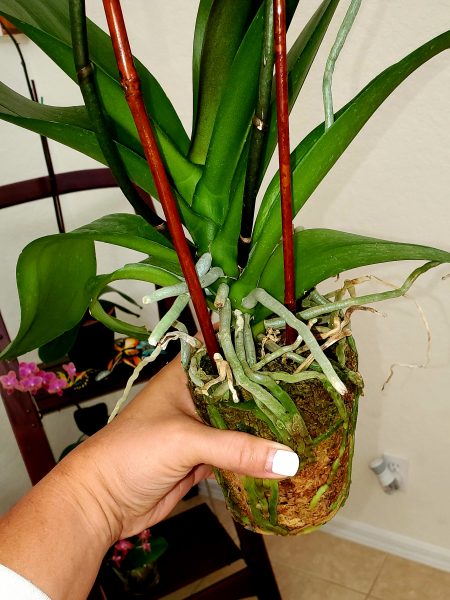
If the old soil is hard to remove and is attached to the roots, place the roots under running water and soak them, avoiding getting water in the orchid crown (the top part where the leaves are).
Once you have removed the old soil and have soaked the roots, you will easily see which roots are healthy and which ones are dead. Dead roots are brown and dry, and the healthy ones are green and plump.
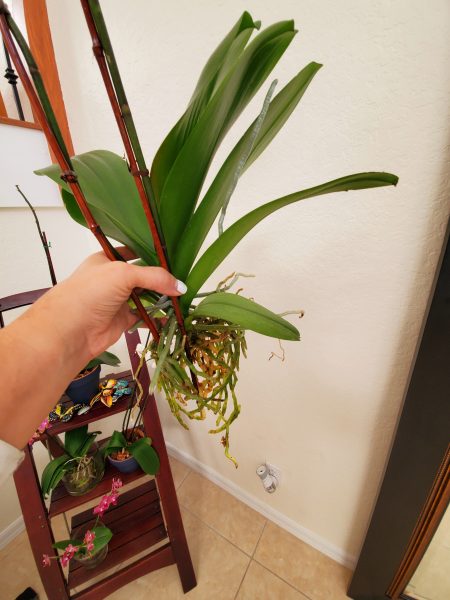
Cut all the dead roots off the root system and then spray the 3% hydrogen peroxide on the roots to get rid of any fungus or snails that might be present.
Let the orchid seat for five minutes or until the peroxide stops sizzling. Rinse off the roots.
Add some of the new potting mix to the chosen pot and make a little base for your orchid.
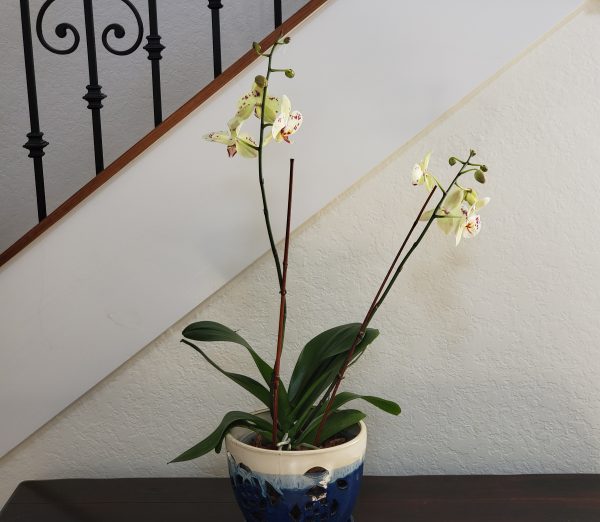
Place the orchid in the middle of the pot and add more potting soil to cover the roots except for any aerial roots your orchid might have (these are the roots that are at the very top and stick out of the pot).
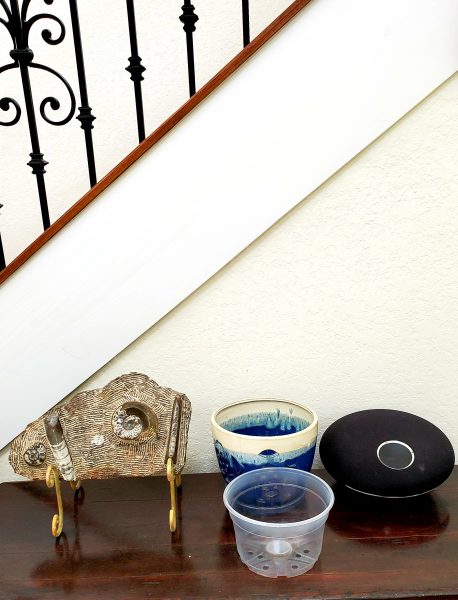
Because my orchid is going to be in my living room, I decided to go with a nice white and blue ceramic pot, which matches the colors of my room décor. The generously size ceramic orchid pot has a beautiful floral design and lovely glazes.
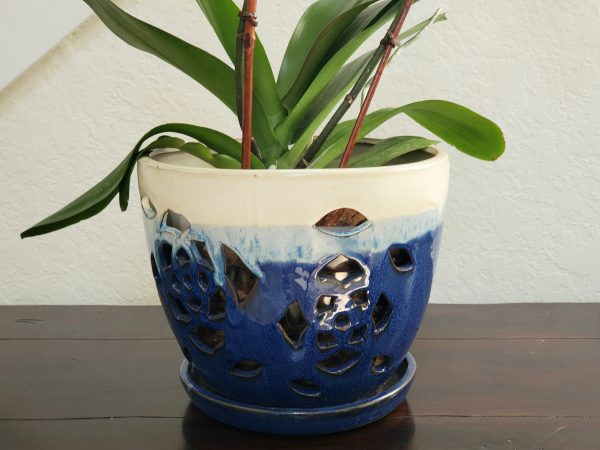
One full side features a flower design, and the other side is solid, so I can rotate it and get a different look. Most importantly, it has drainage into a drip tray and an open cut-out pattern, which is what you want for your orchids because you want to make sure they do not retain more water than they need.
These pots come with a perforated plastic liner, which is a nice touch to your whole plant set up.


